

With an array of shower drain covers available, understanding the type of cover at hand is an instrumental first step in the procedure of its removal. This lifts the veil on the complexity involved, as each type requires a unique approach. Recognizing this detail is crucial as it directly influences the tools you will need and the method you should undertake. Equally important is becoming familiar with the range of equipment that may be required for this task, from everyday tools like screwdrivers to specialized plumbing paraphernalia. Additionally, safety should always be a priority, especially when dealing with jobs like this, where mistakes can potentially lead to injury. Hence, learning about the precautions to bear in mind while removing a shower drain cover is paramount for a safe and efficient execution.
Understanding the type of shower drain cover
Demystifying Shower Drain Covers: Types and Identification
Welcome fellow domestic champions! Today, the spotlight is on an integral, yet often overlooked aspect of bathroom design: shower drain covers. The nifty component that prevents much more than soap residues and stray hair strands from getting down your drainage pipe. Without further ado, let’s dive right into the diverse array of shower drain covers and shed some light on how to identify them.
In navigating the sea of shower drain covers, one will be immediately struck by their seemingly vast variety. However, at their core, there are three primary types to discern: snap-in, screw-in, and lift and turn.
-
Snap-In Shower Drain Covers
Just as the name suggests, snap-in shower drain covers merely ‘snap’ into place. Wrought in a captivating array of materials – from stainless steel to brass and even, occasionally, plastic – these covers typically come with a flat surface that sits atop the drain, which is essential in forestalling debris from entering the pipe. A crucial visual key to identifying a snap-in cover is observing it while it’s taken off. If the cover ‘pops’ out without the need for a tool, you’ve got a snap-in! -
Screw-In Shower Drain Covers
Screw-in drain covers are a notch more complex than their snap-in counterparts. Installed by ‘screwing’ them into the shower drain, they offer more solid footing due to their firm attachment to the drain. Aesthetically they bear a striking resemblance to the snap-in version except for one crucial element: the presence of screws. If on close inspection, you can spot one or two screws securely holding your cover in place, voila! It’s a screw-in. -
Lift and Turn Shower Drain Covers
The last ‘crew member’ in our triad of shower drain covers is the lift and turn. It may be slightly tougher to identify due to its seamless integration with the shower drain, but don’t worry – we’ve got you covered. Mimicking the action of a doorknob, these covers open and close by turning them. In this case, a tell-tale sign could be a slight resistance when you try to lift the cover directly. If you need to turn it to get it off, then it’s a lift and turn cover.
Now that you’re armed with this vital information, go ahead and put this knowledge to good use! If you run into an unidentified drain cover, remember: seemingly complicated, they’re straightforward once you differentiate between snap, screw, and turn. Embrace your inner domestic whizz, and conquer that shower drain!
Photo by teenagerinro on Unsplash
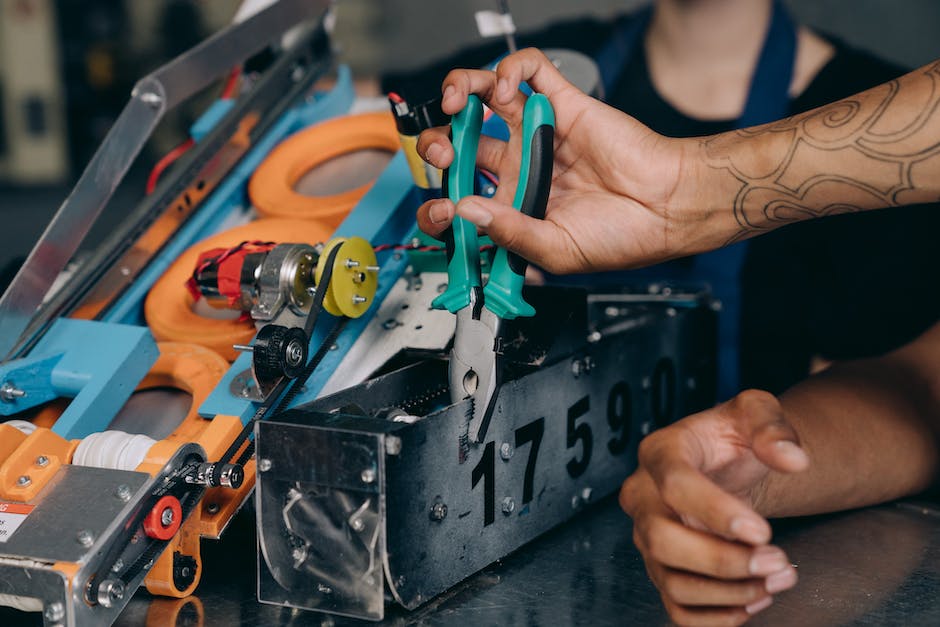
Gathering the necessary tools
Often, the process of removing a shower drain cover might seem challenging, especially if not equipped with the right tools. However, with a little knowledge about the essential gadgets, you’ll be outsmarting these pesky covers in no time. So, let’s dive further into the toolkit you’ll need!
For Snap-In Shower Drain Covers, you’re in luck! As one of the easiest styles to remove, your arsenal only requires a flathead screwdriver and a bit of patience. Placing the screwdriver under the edge, the cover can generally be clicked right out. Nevertheless, consider getting a hold of a plunger to create necessary suction—this can be crucial if it’s slightly sticky stubborn.
Next on our list, we have the Screw-In type, for which, naturally enough, you’ll need a screwdriver—specifically, one with a Phillips head. The Phillips head screwdriver is the ideal tool for unscrewing this type, ensuring smooth retrieval. Remember, the screw is usually hiding under a logo or cap—so don’t fret if it’s not immediately visible.
Now, onto Lift and Turn shower drain covers. This type requires a little more persistence, but nothing that a plumber’s wrench can’t handle. These unique wrenches clamp securely onto the cover’s protruding knob. Once secured, you simply rotate it counterclockwise and, voila, the drain is unveiled.
In some instances, basic tools might not cut it. Irrespective of the type, shower drain covers can be quite unyielding if they haven’t been removed for a lengthy period. In such scenarios, it’s advisable to have an efficient pair of channel locks handy. These adjustable, gripped pliers are perfect for grasping and twisting, giving you the leverage you need to break any hold.
There’s also an often underappreciated trio of tools in the pursuit of drain removal: lubricants, cleaning solutions, and a bit of elbow grease. WD-40 or a similar lubricant can loosen rusty or sticky fittings, while a decent cleaning solution can break down grime that may be hindering your plumbing efforts.
Finally, ensure to have a bucket or pan nearby. When you succeed in removing the shower drain cover, the stored water or debris may spill out, and it’s best to be prepared for that.
In conclusion, armed with the right tools and a good dose of determination, removing a shower drain cover becomes a more straightforward task. Each type has its challenge, but with your newfound toolkit knowledge, you’re now well-equipped for any shower drain cover-type you may encounter. Good luck, and happy plumbing!
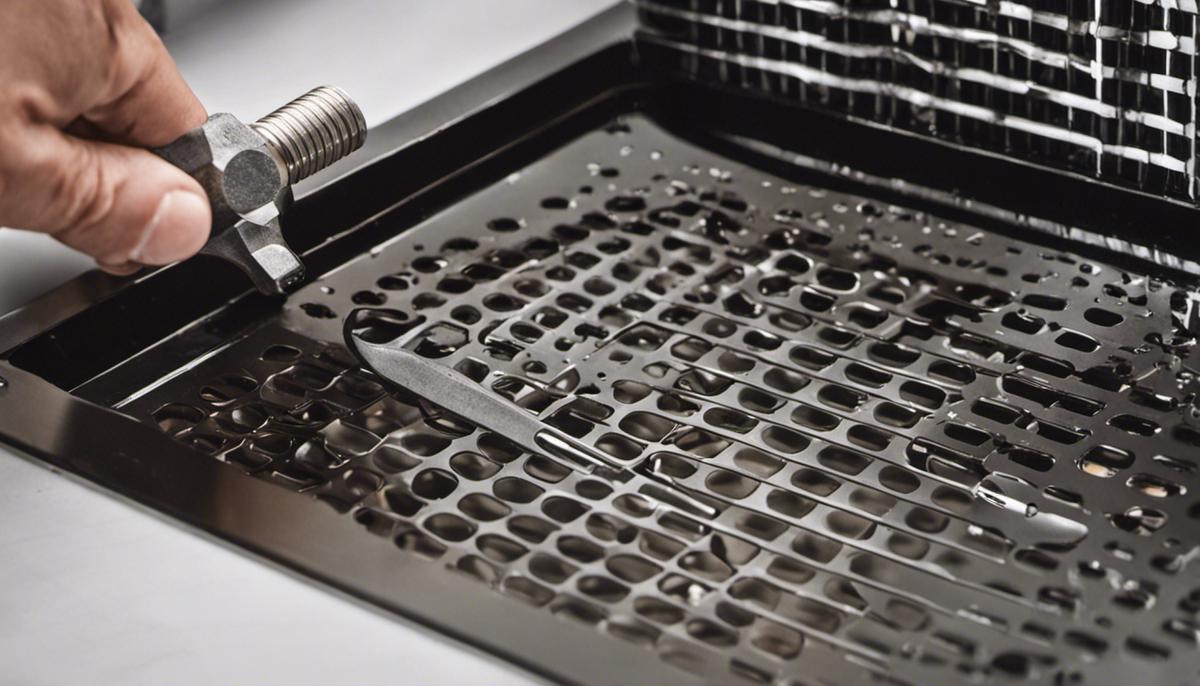
Safety precautions during the removal process
Stepping right into the heart of things, one cannot underestimate the importance of maintaining safety precautions during the removal of shower drain covers. Whether it’s a stubborn screw-in or a well-worn lift-and-turn, minimizing potential harm always underscores any plumbing endeavour. So here, let’s discuss crucial safety precautions to guarantee you a safe and smooth shower drain cover removal experience.
For starters, the right tools sure make the job easier, but they also serve as safety measures. It’s always pivotal to have the right tool for the right type of drain cover: a flathead screwdriver for snap-in type, a Phillips head for screw-in or a plumber’s wrench for lift and turns. Avoid using tools not meant to aid your task. The risk of injury is much higher with a tool misuse or malfunction. Simply put, stick to the right tools for safe, controlled maneuvering.
When wrestling with recalcitrant covers, applying a bit of pressure is necessary, but knowing how much is critical. Force should be applied delicately, avoiding sudden jerky motions. Remember, plumbing is a field where finesse often wins over brute force. Using controlled, gentle force diminishes the probability of slipping tools that can potentially lead to injuries.
Protection of one’s hands also comes under the purview of safety. For this purpose, work gloves are invaluable. They safeguard against prospective injuries from sharp edges or hard materials. Furthermore, gloves provide a better grip and help prevent your tools from slipping out of your hands, a common concern when dealing with smooth, wet surfaces commonly found in showers.
On the topic of wet surfaces, it is imperative to ensure the floor around the work area is kept dry. Wet floors can be treacherous, leading to falls and other accidents. It’s always a good practice to lay down a towel or similar absorbent material around the work area to keep things dry and skid-proof.
Almost universally overlooked yet so crucial, it’s essential to protect your eyes. Debris or grime may potentially fly out during the drain cover removal process. Hence, it’s always wise to wear protective glasses. Safety glasses will shield your eyes from these tiny, stray particles.
Ventilation is equally crucial in ensuring a safe environment. Many plumbing tasks necessitate the use of chemicals, lubricants, and cleaning solutions. These substances can produce fumes that might be harmful if inhaled. Therefore, it’s always vital to have adequate ventilation where plumbing work is taking place.
And finally, finessing the often-major-plumbing, minor-inconvenience task of drain cover removal requires mental preparation. A calm, patient approach yields better results than a hasty one. Breaks are necessary when the task starts feeling strenuous, and never shy away from asking for help when stuck.
By adhering to these safety measures, you’ll ensure that the process of removing a shower drain cover, whether snap-in, screw-in, or lift and turn, transforms from a troublesome chore to a rewarding task. Above all, these procedures ensure that safety, your highest concern, is uncompromised.
Through delving into the nature of your specific shower drain cover, stocking up on the necessary tools, and constantly practicing safety measures, removing a shower drain cover can be demystified. Mastering these key concepts will not only ensure a smooth operation but also safeguard from any unwanted incidents. Take command of your shower maintenance, equipped with the right knowledge and safety forefront. Remember, understanding, preparation, and safety are the trifecta that underpin successful DIY home repairs.