

Whether it’s a dripping faucet or a leaky shower head, water leaks are nuisances that can cause spikes in utility bills and lead to potential water damage. One of the most prevalent sources of such trouble is the bathroom shower, particularly with popular brands such as Moen. An understanding of the mechanics of Moen shower heads is not only essential for effective homeownership but also acts as a starting point for many DIY repair enthusiasts. This knowledge, centered on the components, function, and potential problems in Moen shower heads, paves the way for identifying the source of the leak and subsequently implementing the right repair strategies.
Understanding Moen Shower Head Mechanics
Mastering the Mechanics of Moen Shower Heads: A Step-by-Step Guide
Possessing an under-the-hood understanding of your Moen shower head is not only an exciting indulgence, but it can also be extremely handy in home improvement situations. Combine this with a genuine love for the rewarding hobby of DIY plumbing, and you have yourself an absorbing pastime.
The mechanics of a Moen shower head follow a beautifully simple yet efficient structure. Designed to be an essential part of our domestic lives, Moen shower heads gracefully blend efficiency, durability, and user serviceability, making them an ideal starting point for new plumbing hobbyists.
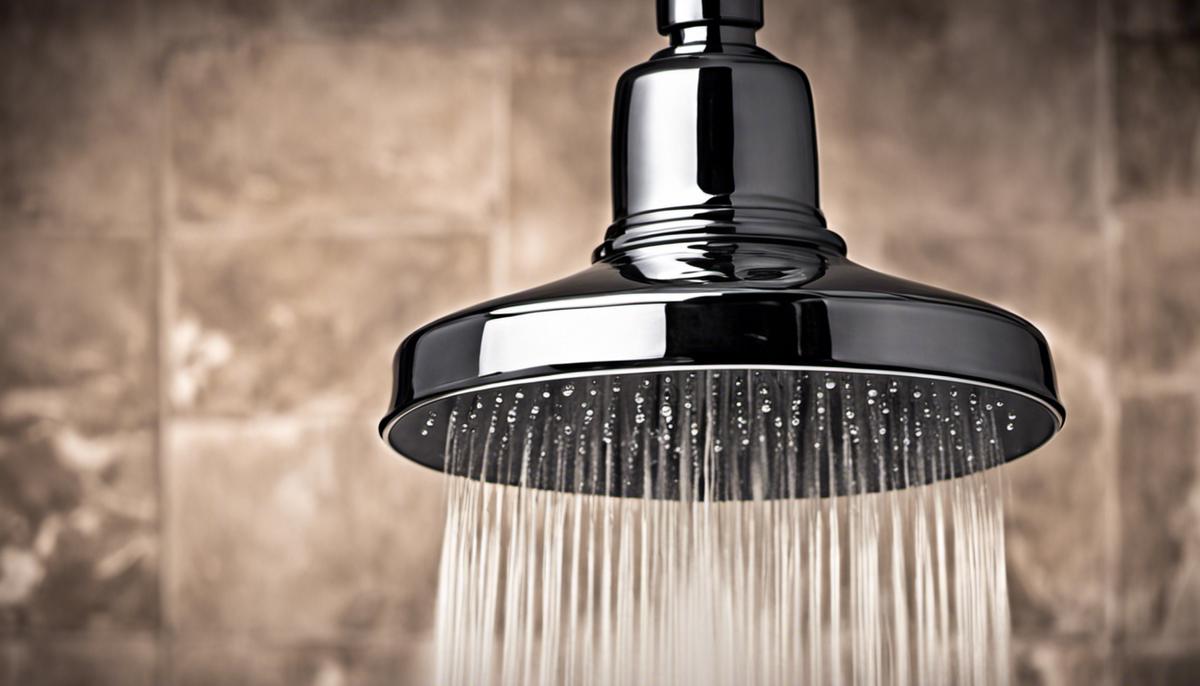
Firstly, the water supply reaches the shower head through a network of in-wall tubes, essentially tailoring your shower pressure according to your plumbing’s water pressure. It may be a simple nuance, but understanding these fundamentals adds another layer of appreciation to the art of plumbing.
At the core of the Moen shower head is a disk-shaped plastic or metal cartridge. This cartridge is the heart and soul of the faucet – it’s literally where the magic happens. It holds two discs, one stationary and one mobile, both replete with multiple holes. Water travels through these holes, and depending on the movement of the second disc, the shower mix between hot and cold water gets determined.
The shower head’s adjusting handle is directly linked to the cartridge. It’s a beautiful synchronization where a twist to the handle results in the similar movement for the cartridge disk. A turn to the left invites hot water to your shower routine, whilst a twist to the right invokes the cold water, ensuring a thoroughly refreshing experience.
Many Moen shower heads are also designed with water-saving features. The presence of a flow restrictor is an excellent testament to this, a small device limiting water flow and hence, aiding in water conservation. Not to mention the thrill of disassembling, learning, and reassembling the whole structure adds to the charm of this hobby.
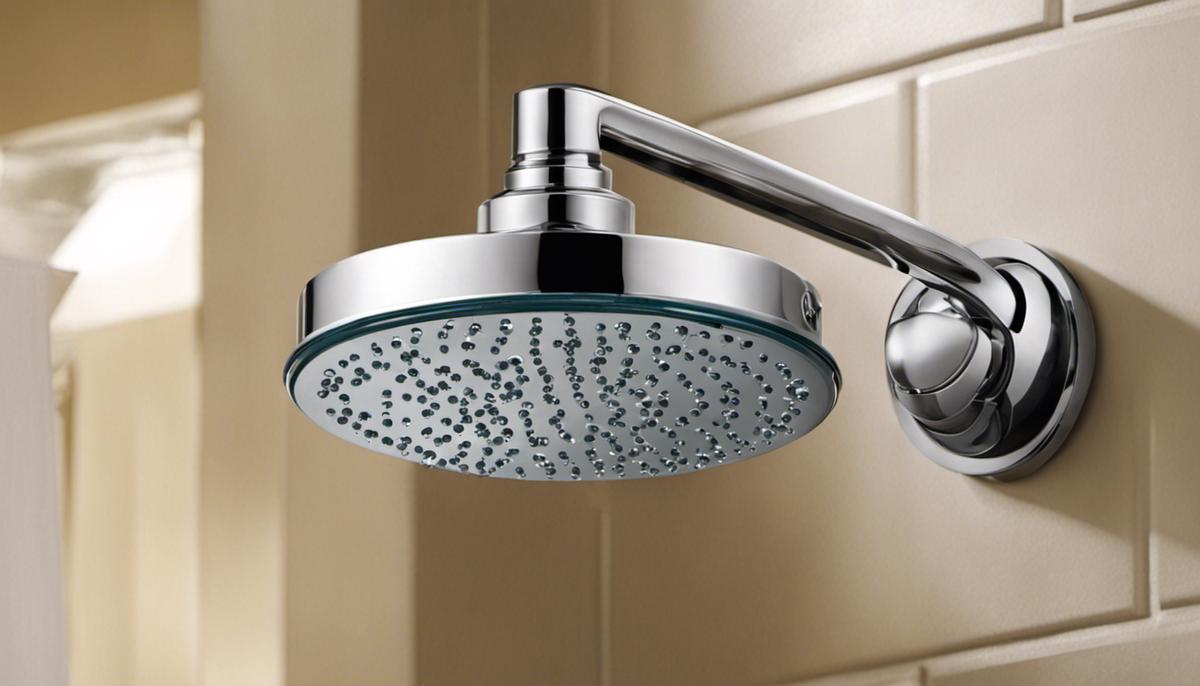
The extendable nature of Moen shower heads is another noteworthy feature. An extensible arm links the shower head to the water pipe. This allows the homeowner to adjust the shower head’s height and angle, thus customizing the showering experience tailored to personal preferences.
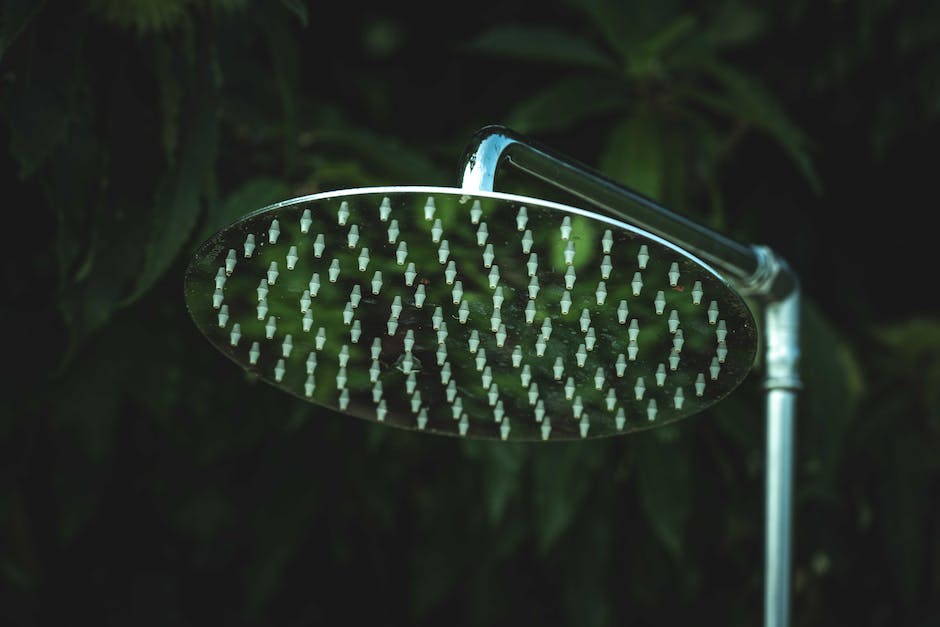
Last but not least, the aesthetically appealing spray face of Moen shower heads houses various nozzles, which can create different spray patterns. One can adjust the pattern based on personal preference, offering a unique touch to every shower.
Learning about the inner workings of these household items isn’t just knowledge; it’s a fascinating journey into understanding their brilliant designs and engineering. The mechanics of Moen shower heads offer an enticing playground for those who adore the intricacies and rewards of home plumbing. So, grab that wrench, and let’s get to exploring!
Remember – each twist, each turn, and each adjustment you make offers an insight into the world of plumbing: a world that is rewarding, brimming with knowledge, and wonderfully captivating. Don’t just observe, engage! Exploration is at the heart of this fulfilling hobby.
Identifying the Source of the Leak
Unmasking the Mystery: Identifying the Source of Your Moen Shower Head Leak
For any devout dwelling DIYer, there’s no obstacle too great to solve. When leaks occur, pinpointing the precise source is the first and most important step in the problem-solving process. This article will guide you through this process specifically for a Moen shower head.
Your trusty leak detector, your eyes, might first draw you to the crack or worn parts on the shower head’s body. Although it could be from extensive usage or aging, these signs should not be neglected. The body acts as a cage for the other components; damages it bears are often a clue to the internal issues.
Next, turn your attention over to the O-rings and gaskets. Essentially, these are the gatekeepers that prevent water from escaping unintentionally. Their wear and tear often are the main suspects of shower head leaks. When checking this, ensure you closely examine the seal around the connection between the shower head and the arm, and also the inner O-ring inside the shower head that seals the cartridge.
The valve assembly, a very important internal component, is often overlooked. Despite being hidden away, this set of valves is responsible for controlling the flow of water through the system. If any of these valves malfunction, it could result in leakage.
Also important to note is the threaded connection between the shower arm and shower head. Even the slightest misalignment here could amount to a troublesome leak. Equipped with plumber’s tape, ensure that the threading is sealed properly to avoid any leaks.
On the top of the list of potential culprits is the spit pipe or shower arm, especially if the leak is oozing from behind the wall. Although, this repair might require professional help, it is vital to identify to prevent any serious damages.
Don’t overlook the fixture finish, it’s more than just aesthetic. A worn-out finish could indicate a long-standing leak issue. Water takes its toll, leading to crack or peel off the fixture’s finish.
Taking care of your belongings is more than just cleanliness. It’s a labour of love dedicated to maintaining, learning, and growing alongside them. It’s sinking your teeth into the nitty-gritty and unearthing the joy that lies within the complexities. So, the next time your Moen shower head springs a leak, you will step forward knowing exactly where to cast your expert eye. Always remember, every stumbling block you confront and master today is undeniably a feather in your cap for tomorrow. Enjoy your journey of DIY discovery! Whether it’s a clog, a leak, or a full remodel, charge forward with the confidence of a seasoned plumbing pro!
Repairing Leaky Moen Shower Head
Welcome to the world of home plumbing, where shower head leaks also prove to be fountains of knowledge!
Now, let’s navigate through the step-by-step process of fixing a leaky Moen shower head.
Armed with the understandings from the previous sections, it’s time to put on the work gloves, grab the wrench, and dive right in.
Remember, no job is too small and every task unearths new learning.
To start, gather the right gear.
Essential tools include an adjustable wrench, a set of needle-nose pliers, a roll of plumber’s tape, and a suitable replacement part or kit if necessary.
Next, carefully remove the shower head from the arm.
Use the adjustable wrench and softly turn the showerhead counterclockwise to avoid any damage.
Also, remember to place a cloth or any fabric around the showerhead before using the wrench; this prevents scratching the fixture’s finish.
Hidden under the showerhead is the cartridge – your next goal.
Remove the cartridge using needle-nose pliers, gently pulling it out from its position.
Be careful not to cause unnecessary harm to other parts.
Upon removing, inspect the cartridge carefully.
Scan for visible signs of damage or wear, such as broken seals or cracks, as they can lead to water drips.
If in bad shape, locate an identical replacement cartridge to keep the Moen working smoothly.
On the other hand, if the cartridge does not seem to be the problem, move on to inspect the O-rings and gaskets.
These small yet significant components help to seal connections and prevent leaks.
Search for any signs of deformities or damages.
Remember, any tiny fracture or tear could cause leakages!
If any part appears damaged or worn out, replace them.
Now, swing back to the shower arm and carefully inspect the threaded connection.
Realign it securely if needed, ensuring no cross-threading.
If any misalignment is spotted, it’s time to unthread the connection and use plumber’s tape to reseal it.
This guarantees a proper fitting, forestalling any leaks in the future.
Voila! You’ve just journeyed through the exciting quest of fixing a leaky Moen shower head.
Always remember, issue resolved or not, every moment spent learning about the hobby enriches your expertise.
Take a step back, admire your work, and anticipate the next plumbing adventure.
Nor hidden leak, nor misaligned thread can dampen your enthusiasm.
Happy plumbing!
Armed with a detailed understanding of Moen shower head components and operation, as well as techniques for identifying leakage points, you’re now equipped to take proactive measures in maintaining your bathroom fixtures. Mastering the process of repair – disassembling the shower head, replacing faulty parts, and reassembling – not only resolves present issues but also prevents future leakages. By honing these practical skills, you can ensure your Moen shower head continues to function optimally for a relaxing shower experience while contributing to the preservation of our valuable water resources.